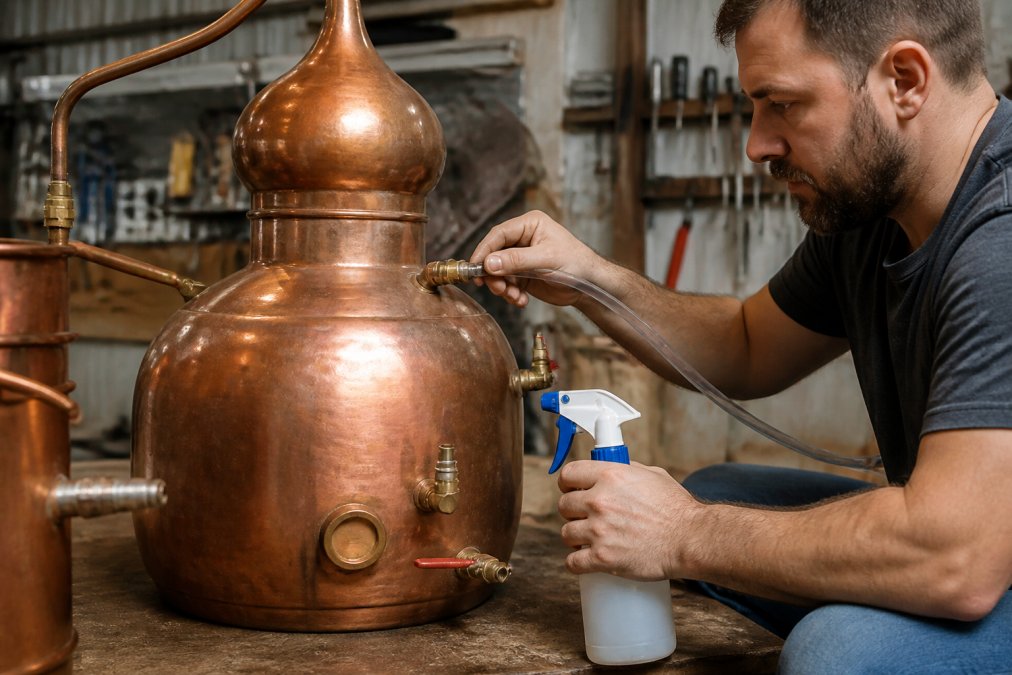
 how-to
How to Test a Still for Leaks: Step-by-Step Guide
Table of Contents
- Pre-Run Inspection: What to Check Before You Test
- The Soapy Water Spray Test for Vapor Leaks
- Pressure Testing Distillation Equipment: Hydrostatic and Air Methods
- How to Test a Still for Leaks Using Volumetric Measurement
- Still Maintenance and Repair: Seals, Probes, and Valves
- Safety Protocols and Environmental Standards for Leak Testing
- Frequently Asked Questions
Last Updated: September 18, 2026
Pre-Run Inspection: What to Check Before You Test
Learning how to test a still for leaks starts with your eyes and hands. A careful pre-run inspection catches most problems before they become wasted batches or safety hazards.
Start by working through this checklist:
- Check every gasket for cracks, flattening, or hardening
- Look at solder joints for pits, gaps, or discoloration
- Confirm the column and condenser fit together snugly
- Inspect the boiler rim and lid for dents or warp
- Test that valves open and close fully
- Make sure the temperature probe seats correctly
Examining Seals, Gaskets, and Solder Joints
Seals and gaskets are the first place leaks appear. Rubber and silicone gaskets dry out, flatten under pressure, and stop sealing. Run your finger along each gasket; if it feels stiff or cracked, replace it.
How to Spot Poor Soldering on a Copper Still
These clues give away poor soldering:
- Dull, cloudy, or grainy surface instead of shiny metal
- Visible pinholes or tiny gaps along the seam
- Solder that sits in lumps rather than a smooth bead
- Dark burn marks near the joint
- A seam that flexes when you press it gently
Poor soldering is the most common leak source on hand-built copper stills. If you find a bad seam, do not patch it with more solder, clean the area and redo it properly.
The Soapy Water Spray Test for Vapor Leaks
The soapy water spray test is the fastest way to find vapor leaks on a still: pressurize the system, spray soapy water on the joints, and watch for bubbles.
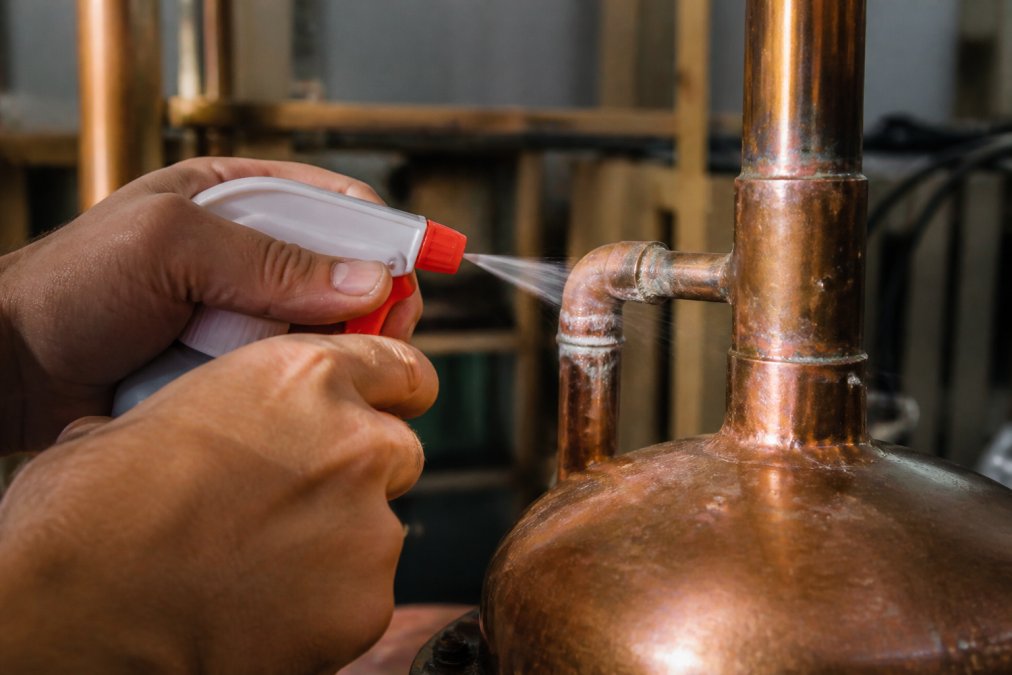
Step-by-Step Bubble Test Procedure
Follow these steps in order:
- Mix a few drops of dish soap into a spray bottle of water
- Seal all openings except one port for low-pressure air
- Add a small amount of air, no more than 1-2 psi
- Spray the soapy water solution on every joint, seam, and fitting
- Watch each spot for 10-15 seconds for bubbles
- Mark any leak with tape so you can find it again
- Release the pressure and fix the leaks you found
Work from top to bottom so drips don't wash over spots you already checked.
Interpreting Results and Common Mistakes
Small, slow-growing bubbles point to a tiny leak; fast, foamy bubbles mean a bigger problem. Fix either before you run the still.
Pressure Testing Distillation Equipment: Hydrostatic and Air Methods
Pressure testing distillation equipment is more reliable than a bubble test alone, using either hydrostatic (water) or low-pressure air testing.
| Method | How It Works | Best For | Main Risk |
|---|---|---|---|
| Hydrostatic (water) | Fill with water, watch for drips | Boilers and large vessels | Water left in tight spaces |
| Low-pressure air | Add air, watch pressure gauge | Small stills and columns | Stored energy if pressure is too high |
| Soapy water spray | Spray joints, watch for bubbles | Pinpointing exact leak spots | Missing hidden joints |
Hydrostatic (Water) Pressure Testing
A hydrostatic test uses water to check for leaks: fill the boiler or vessel, seal it, and watch for drips. If a seam fails, water spills instead of exploding.
Low-Pressure Air Testing and Pressure Decay
Air testing relies on pressure decay. Seal the still, add a little air, and watch the gauge. Steady means a good seal; a drop means a leak.
How to Test a Still for Leaks Using Volumetric Measurement
Volumetric and mass measurement are the only leak tests that give you a number instead of a yes-or-no answer. A still can pass a soapy water test and still lose enough vapor over a four-hour run to throw off your cuts and yield. Here is the procedure, with the mechanism behind each step.
Why Mass Beats Volume on a Still
Water volume changes with temperature, so a still in a hot shop reads differently than one in a cold garage. Mass does not, a pound is a pound regardless of temperature, making it the more reliable method. Use volume only when the vessel cannot go on a scale, such as a fixed boiler plumbed into a column.
The Mass-Based Leak Test, Step by Step
You need a scale accurate to about 0.1 lb (a kitchen or shipping scale works for small stills), a way to seal every port, and a low-pressure air source.
- Weigh the empty, dry still. Record the number. Call it W1.
- Fill the boiler to a marked line with water. Weigh again. Call it W2. The difference (W2 − W1) is your starting water mass.
- Seal the system and pressurize to 1-2 psi with air. Do not exceed this. A thin copper wall will deform before it bursts, and a deformed wall is a permanent leak.
- Let it sit for a fixed interval. Thirty minutes is a good starting point for a small still; an hour for a boiler over 10 gallons.
- Release the pressure slowly, then drain and reweigh the water that comes out. Call it W3.
- Subtract: W2 − W3 = mass lost.
Turning the Number Into a Leakage Rate
A single loss number is not that useful on its own, a rate is. Divide mass lost by test duration to get a leakage rate in pounds per hour.
- Lost 0.2 lb over 30 minutes = 0.4 lb/hour
- Lost 0.2 lb over 60 minutes = 0.2 lb/hour
Where the Water Goes (and Why That Matters)
If you measure a loss, it went somewhere. Three possibilities:
- Out through a leak. Confirm with a soapy water spray on the joints while the system is still pressurized.
- Into the air as evaporation. Real, but small at room temperature over 30 minutes. If your loss is large, evaporation is not the explanation.
- Left behind in the system. Condensers, columns, and packed sections trap water, the most common false positive. Drain thoroughly, tilt the still, and blow low-pressure air through the condenser before you reweigh.
Still Maintenance and Repair: Seals, Probes, and Valves
Most leak-testing guides treat every still the same. They should not: copper and stainless steel expand at different rates when heated, which changes where leaks show up and how to test for them. This section covers material-specific protocols, plus a post-repair validation routine that tells you whether a fix held.
Material-Specific Testing: Copper vs. Stainless Steel
Copper and stainless steel have different thermal expansion behavior, which matters because a still that seals cold may not seal hot.
Post-Repair Validation: Confirming a Fix Before You Run
A repair is not finished when the leak stops, it is finished when the leak stays stopped under the conditions you actually run. The validation sequence:
- Cold pressure decay. Seal the system, pressurize to 1-2 psi, and watch the gauge for 15 minutes. A steady gauge is a pass.
- Soapy water confirmation. Spray the repaired joint specifically. No bubbles is a pass.
- Warm re-test. Fill with warm water (120-140°F), let it sit for 10 minutes, and re-spray the repaired joint. This catches thermal-expansion leaks that a cold test misses, especially on copper.
- Mass-loss baseline. Run the mass test from the previous section and record the leakage rate. Compare it to your pre-repair number. If the rate did not drop, the repair did not address the actual leak.
Troubleshooting Temperature Probe Blockages
A blocked temperature probe gives false readings, which throws off your whole run. Residue from previous batches builds up in the probe port and blocks the sensor.
Signs of a blockage include:
- Readings that stay flat during a run
- Temperatures that jump around
- A reading that does not match the vapor you see
A Maintenance Schedule That Actually Prevents Leaks
Replace seals on a schedule, not on failure. A gasket that has flattened and hardened is already leaking, even if you cannot see it yet.
- Before every run: visual check of gaskets, probe seat, and valve handles
- Monthly: full pressure decay test and mass-loss baseline
- Every 10-15 runs: replace gaskets and inspect valve seats for wear
- Annually: inspect all solder joints and threaded fittings, including the copper-to-stainless transition if you have one
Keep a log of your monthly leakage rate. A rate that creeps up over three or four months tells you a seal is degrading before it fails outright. That early warning is worth more than any single test.
Safety Protocols and Environmental Standards for Leak Testing
Safety comes first when you test any still. Alcohol vapor is flammable and heavier than air, collecting in low spots where a spark or open flame can ignite it.
Follow these safety protocol basics:
- Test in a well-ventilated space
- Keep all flames and sparks away during testing
- Never use high pressure on a sealed still
- Wear eye protection when spraying soapy water
- Have a fire extinguisher within reach
Test your still in the same spot where you will run it. Moving a still after testing can shift a fitting and open a seal you just checked.
Frequently Asked Questions
What is the easiest way to find a leak on a still?
The soapy water spray test is the easiest first step. Fill the still with water, apply a soapy water solution to all joints, seals, and connections, then watch for bubbles. Bubbles indicate vapor leaks. This bubble test works well for small leaks and requires no special equipment beyond dish soap and a spray bottle.
How do you perform a water-only test run for leak detection?
Fill the boiler with water, assemble the still completely, and apply heat until the water boils. Watch for drips or escaping steam at every joint, seal, and valve. This hydrostatic test also checks pressure integrity. If you see moisture or steam outside the still, you have a leak that needs repair before a real run.
Why is it important to check seals before every distillation run?
Seals degrade over time from heat, thermal expansion, and chemical exposure. A compromised seal can release flammable vapors, reduce condenser efficiency, and allow unmetered air into the system. A quick pre-run inspection of gaskets and seals takes a few minutes and prevents dangerous leaks during distillation.
Is a pressure test necessary for home distillation equipment?
Yes. Pressure testing distillation equipment catches leaks that visual inspection misses. A low-pressure air test with a pressure gauge lets you monitor pressure decay over time. If pressure drops, you have a leak. This method is safer than high-pressure testing and works for copper stills, stainless steel units, and vacuum seal systems.