 ultimate-guide
Professional Grade Still Setup Guide for 2026
Table of Contents
- What a Professional Grade Still Setup Actually Requires
- Pot Still Assembly: Kettle, Column, and Condenser
- Pot Still vs Reflux Still: Matching Your Setup to Your Goal
- Gaskets, Seals, and Fittings: Getting the Vapor Path Tight
- Water Supply, Heat Source, and Ventilation Setup
- How to Run a Still Leak Test Before First Use
- Still Cleaning and Maintenance for Long-Term Performance
- Conclusion
- Frequently Asked Questions
Last Updated: October 17, 2026
What a Professional Grade Still Setup Actually Requires
A professional grade still setup guide starts with one honest truth: the still itself is only half the system.
A professional grade still setup is the complete arrangement of kettle, column, condenser, seals, cooling supply, heat source, and ventilation, assembled so the vapor path stays sealed and the cooling flow stays constant.
Here is what most guides get wrong: they treat setup as a one-time event.
Pot Still Assembly: Kettle, Column, and Condenser
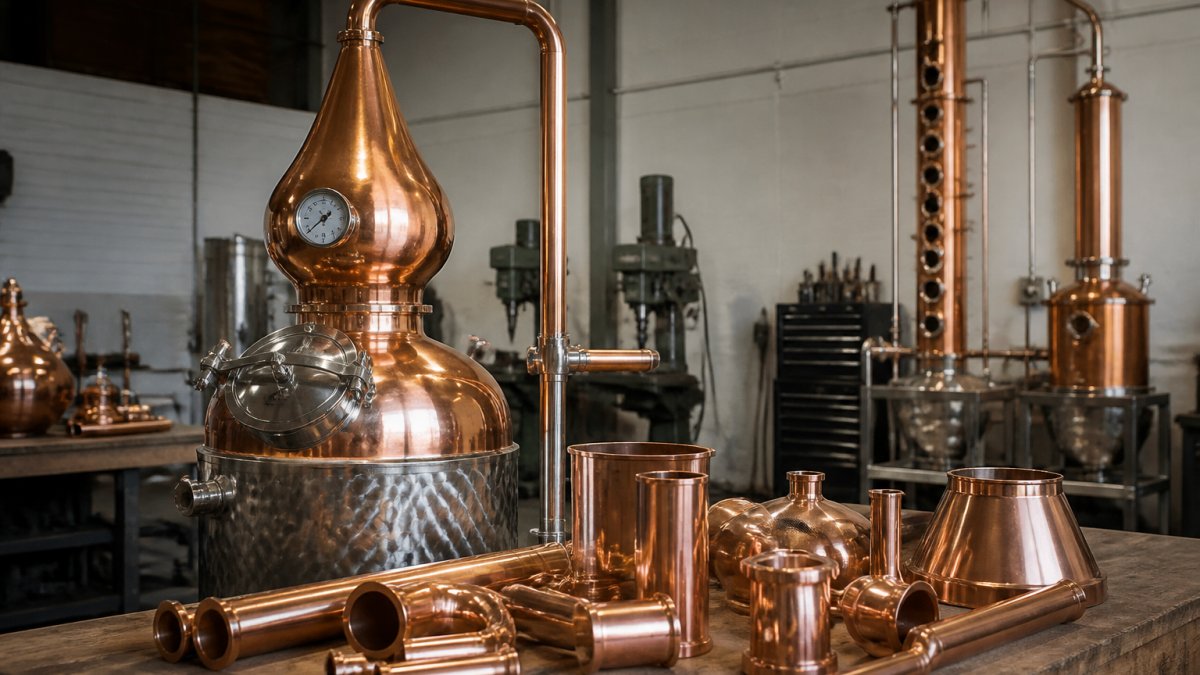
Pot still assembly follows a fixed order: seat the kettle level, mount the column on its gasket, then attach the condenser and connect cooling lines.
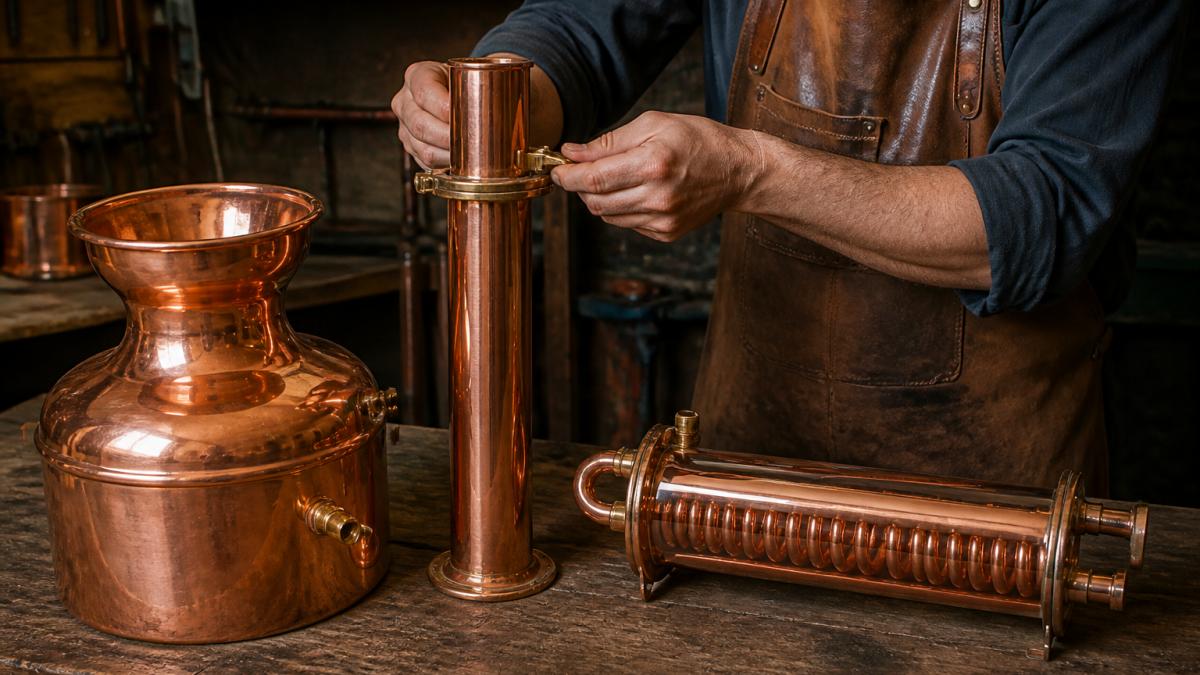
Lay the components out in sequence before you touch a clamp. Confirm the gasket seats flat with no twists, and check that the column sits vertical rather than leaning on the kettle rim.
Pot Still vs Reflux Still: Matching Your Setup to Your Goal
The pot still vs reflux still choice comes down to output style.
Hybrid stills let you run either mode by changing column packing and reflux settings, which is why many serious hobbyists start there.
| Still Type | Best For | Flavor Carryover | Setup Complexity |
|---|---|---|---|
| Pot still | Whiskey-style, fruit washes | High | Low |
| Reflux (column) still | Neutral spirit, high purity | Low | Moderate |
| Hybrid still | Both, switching by run | Adjustable | Moderate to high |
Our view: if you are unsure, a hybrid gives you room to learn without buying twice. If you already know you want flavor-forward spirit, a pot still is the simpler, more forgiving machine.
Gaskets, Seals, and Fittings: Getting the Vapor Path Tight
A tight vapor path depends on three things: clean mating surfaces, correctly seated gaskets, and clamps tightened evenly in a cross pattern.
Inspect every gasket before installation. Look for nicks, flattening, or hardening, and replace rather than re-seat anything questionable. Wipe both mating faces dry, because residue under a gasket prevents full contact.
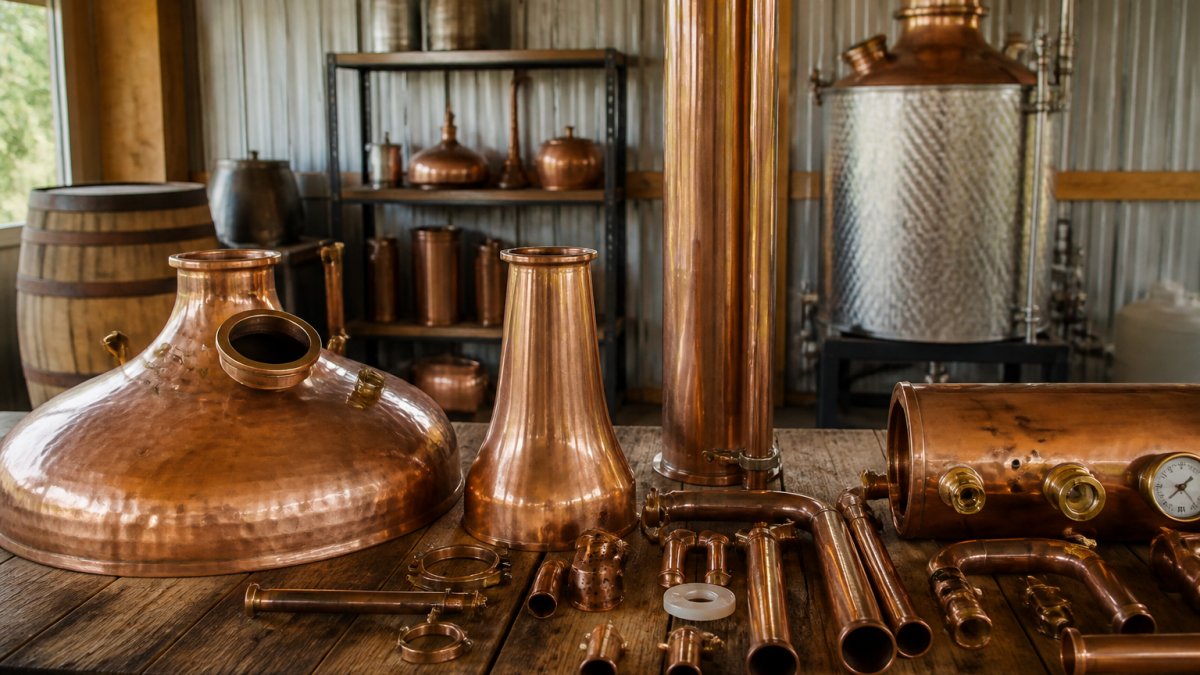
Materials compatibility deserves attention here. Copper fittings and tubing work with standard vapor and cooling water, but check that any seal you add is rated for the temperatures and alcohol vapor it will contact.
Water Supply, Heat Source, and Ventilation Setup
Cooling water, heat input, and room airflow form the working triangle of any still setup. The condenser needs a steady, cool water supply from a pump or gravity feed. The heat source must be controllable, whether that is propane or electric.
Set the cooling flow first and confirm it runs before any heat is applied. Route hoses so they cannot kink or sit against hot copper.
How to Run a Still Leak Test Before First Use
A still leak test is a pressure and vapor check performed before the first run and again after any reassembly. It confirms every joint holds before heat and alcohol are involved. Run the test with the system assembled exactly as it will run, filled with water only.
Most setup guides stop at "check for leaks." A professional-grade preflight goes further: it verifies the vapor path under heat, confirms the condenser circuit is unobstructed, and rules out ignition and pressure hazards before any flammable charge enters the kettle.
Preflight checklist: vapor, pressure, and fire risk
Work through these checks in order. Do not apply heat until the first four are complete.
- Vapor path integrity. With the kettle cold and empty, cap the condenser outlet and gently pressurize the system by mouth or with a low-pressure hand pump. A drop in pressure over one minute means a leak. Soap solution brushed on every gasket, clamp, and threaded fitting will bubble at the failure point. Pay closest attention to the column-to-kettle joint and the condenser inlet, which see the most thermal cycling.
- Condenser circuit. Confirm water flows freely from inlet to outlet with no kinks, and that the outlet discharges to a drain or reservoir rather than recirculating hot water. A blocked or reversed condenser line is the most common cause of vapor escaping at the outlet during a run.
- Pressure and venting. Verify the system has an open path to atmosphere at the condenser outlet. Never plug or valve the outlet during a run. A sealed vapor path with no vent becomes a pressure vessel once the kettle heats.
- Ignition sources. Clear the workspace of open flames, pilot lights, and sparking equipment before any alcohol vapor is present. If you heat with propane, keep the burner and tank outside the vapor zone and check the hose for cracks.
- Heat-source control. Confirm the burner or element can be turned down quickly and that you can reach the control without leaning over the still.
- Thermometer placement. Seat the thermometer so its bulb sits in the vapor path, not touching copper or submerged in liquid, and confirm it reads room temperature before you start.
Running the hot leak test
After the cold checks pass, fill the kettle with water only and apply low heat. Watch each joint as the system reaches operating temperature, a gasket that looks sealed cold can weep once the copper expands. Use a mirror held behind each fitting to spot vapor you cannot see head-on, and keep a spray bottle of soap solution handy for a second pass. Shut down, let the system cool completely, and re-seat anything that showed a leak.
Still Cleaning and Maintenance for Long-Term Performance
Still cleaning and maintenance protect both the copper and the flavor of future runs. Rinse the kettle and column after every session, dry the interior thoroughly, and inspect gaskets for wear. Copper that sits wet develops verdigris, and a gasket left compressed hardens and stops sealing.
What most guides leave out is materials compatibility. Copper is the standard for the vapor path because it conducts heat evenly and reacts with sulfur compounds that would otherwise carry into the finished spirit, but it also corrodes when left in contact with acidic washes or standing water.
Materials compatibility at a glance
| Component | Compatible materials | Avoid | Why it matters |
|---|---|---|---|
| Kettle and column | Copper, stainless steel | Galvanized steel, aluminum | Zinc and aluminum can pit or leach under heat and acidic wash |
| Gaskets | PTFE, silicone rated for high temperature | Natural rubber, EPDM not rated for alcohol vapor | Unrated seals swell, harden, or degrade and lose their seal |
| Tubing | Copper, food-grade silicone | PVC, vinyl | PVC softens at condenser temperatures and can off-gas |
| Solder and fittings | Lead-free silver bearing solder | Lead-based solder | Lead solder is a contamination risk in any vapor path |
If a seal or fitting is not explicitly rated for the temperatures and alcohol vapor it will contact, replace it before the next run. A seal that feels tacky, has flattened edges, or shows surface cracks has already lost its ability to compress evenly.
Inspection criteria and replacement intervals
A sensible routine looks like this:
- After each run: rinse the kettle and column, drain the condenser lines, and dry all interior surfaces. Standing water is what drives verdigris on copper.
- Every few runs: inspect gaskets for nicks, flattening, and hardening; check the condenser for scale buildup that reduces flow; confirm clamps still thread smoothly.
- Seasonally: deep-clean the copper with a mild acid wash followed by a thorough rinse and dry; replace any gasket that has been compressed through repeated heat cycles; re-check every fitting for thread wear.
Replace gaskets on a schedule rather than waiting for a visible failure. A gasket that has been through dozens of heat cycles may still look intact but no longer compresses enough to seal under vapor pressure. Keep a spare set on hand so a worn seal never forces you to run a questionable joint.
Conclusion
The hard part of a still setup is not the copper. It is the discipline of assembling in order, sealing the vapor path, and testing before you run. That is the difference between a still that performs and one that fights you.
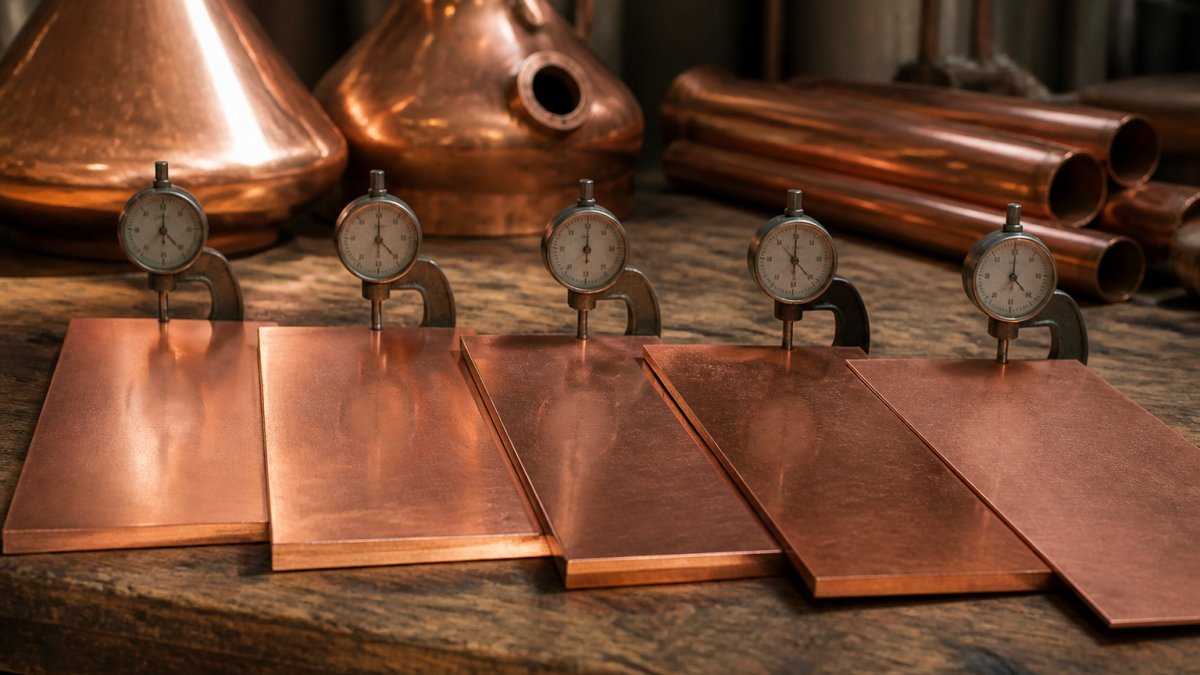
At Steven StillZ LLC, we build every still by hand from 20oz, 99.9% pure Paul Revere Copper with lead-free silver bearing solder, and we pressure-test each unit before it ships. Every order is backed by our 100% money-back or replacement guarantee.
Frequently Asked Questions
What equipment do you need to set up a professional-grade still?
A complete still setup includes the kettle or boiler, column, condenser, and all connecting clamps and gaskets, plus a heat source, a cooling water supply, a thermometer, and a ventilated workspace. You will also want a leak-test kit, a hydrometer, and collection vessels. Before buying anything, confirm the still ships with pre-assembled or clearly labeled components and a pressure-test record, since a professional grade still setup depends as much on verified seals as on copper thickness.
How do you assemble a pot still?
Start with the kettle on a level surface, then seat the gasket and attach the column with even clamp pressure. Connect the condenser to the column outlet, then route cooling water in at the bottom and out at the top. Tighten fittings by hand plus a quarter turn, never by force. Check that the vapor path runs continuously downhill or level to the condenser. A careful pot still assembly takes about 30 minutes and should end with a full leak test before any heat is applied.
How do you test a still for leaks?
Run a still leak test before every first use and after any cleaning that involves disassembly. Fill the kettle with water, seal it, and apply low heat until gentle pressure builds, then brush soapy water on every joint, clamp, and gasket. Bubbles mark a leak. For a cold check, cap the outlet and pressurize gently by mouth or with a low-pressure pump. Never use a flame to check for vapor leaks. Fix any seal issue and repeat until every joint stays dry.
What is the difference between a pot still and a reflux still?
A pot still distills once per run and carries flavor compounds through, which suits whiskey, rum, and brandy. A reflux still adds a packed column that returns heavier compounds to the boiler, producing higher proof and a cleaner spirit. The choice shapes your whole setup: reflux columns need more cooling water and tighter temperature control, while pot stills are simpler to assemble and clean. Many home distillers start with a pot still and add a column later.
How do you clean and maintain a copper still?
Rinse the kettle and column with warm water after every run, then dry immediately to prevent verdigris. Do a deeper still cleaning and maintenance pass monthly with a mild acid wash, such as a diluted vinegar solution, to remove tarnish inside the vapor path. Never use abrasive pads on the interior. Inspect gaskets for hardening or cracks, replace them at the first sign of wear, and re-run a leak test after any reassembly. Store components dry and unclamped to protect the seals.
What safety precautions should you take when setting up a still?
Keep the still on a level, non-flammable surface away from drafts, and place the heat source so the vapor path never passes over an open flame. Ventilate the room with cross airflow and keep a fire extinguisher rated for flammable liquids within reach. Never seal the collection vessel or the outlet, since a blocked vapor path builds pressure. Collect distillate in an open container, discard the foreshots, and check local and federal rules before your first run.